We've covered how to paint and overall restore your vintage furniture with our MegMade DIY Furniture Paint, but if you're using a different grade of paint, you may have a few extra steps. Additionally, what happens if your piece has a few areas that are looking a little rougher than expected? Sometimes, things don’t go as smoothly as the last paint tutorial. Our DIY chalk paint takes out all the hassle for needing to prep or prime, but if you're using a different type of paint, you'll need to follow these steps. Nothing is unfixable! If you’re willing to put some love into it, any vintage piece can be transformed to be the perfect piece for you! Here's how to prep your pieces that need some love before restoring:
Click HERE to download our FREE, downloadable step-by-step tutorial and checklist!
*Click HERE to shop our MegMade DIY Furniture Paint*
Step One: Remove The Hardware
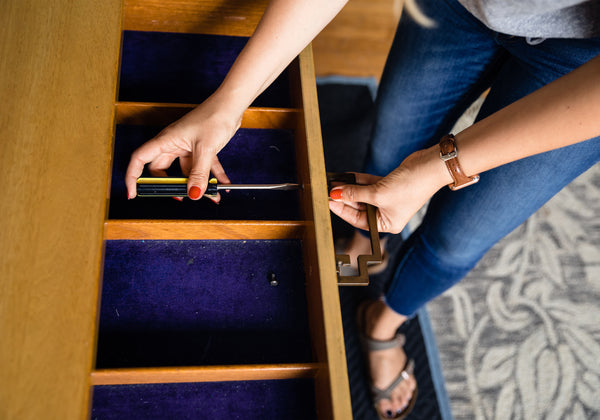
The first step is to remove all the hardware off your doors and drawers. I cannot even count the amount of times I have lost a tiny screw during this process!! Be sure to store all hardware pieces in a ziplock bag or bucket so you don't misplace them! This piece came with some really cool hardware, so we decided to stick with it. I love keeping the original look of the piece as much as possible. It preserves the history of the piece, even though the new coat of paint transforms it to fit your new style! At the same time, if the knobs or pulls don't fit the look you're going for, you can always change them out. Changing out hardware is a super easy way to transform the look of an overall piece and really make it your own.
 Step Two: Disassemble Any Doors And Drawers

This might be our least favorite step - its so tedious - but extremely important. Disassemble your furniture by taking out all drawers and doors. The easiest way we've found is to work in sequential order and label them to make it easier during re-installment. (Think: like an assembly line!) I like adding little smileys or numbers to not mix up the order and side the drawers go in. Although taking it all apart can seem annoying, it's important for the overall finish of the look to make sure you don't skip painting any crevices or corners!
Step Three: Clean Your Piece

Whatever you do, do NOT skip this step y'all. Getting the grease and grime off your piece will be super important to the overall finish and makes the process go smoother in the end. We now offer wood cleaner here at MegMade called Clean Slate that we love! (Think: this step gives you a CLEAN SLATE for the paint you're getting ready to put on.)
If you're not going with a MegMade cleaner, steer clear of any product with a wax derivative to prevent your paint from chipping.
Step Four: Bondo For Nicks, Dings and Divots

This step can still apply for any type of paint. If you're looking to patch up any cracks or chips, or if you're choosing to replace the hardware on your drawers and doors with a different size, you'll need this step. If not, skip it! When patching up cracks or chips, we recommend using Bondo because it dries really fast and hard, but any wood filler will do. Bondo is an all-purpose putty that mixes with hardener and dries fast, so you have to make sure you're working fast as you put it on! We recommend over applying and sanding off excess just to be safe. Make sure you get all the sand off of your wood to make sure the paint goes on smoothly! The nice thing about Bondo is that you don't have to take time out of your prep to wait for it to dry. I would say it takes about 15 minutes to dry after applying.
*Click HERE to shop some Bondo*
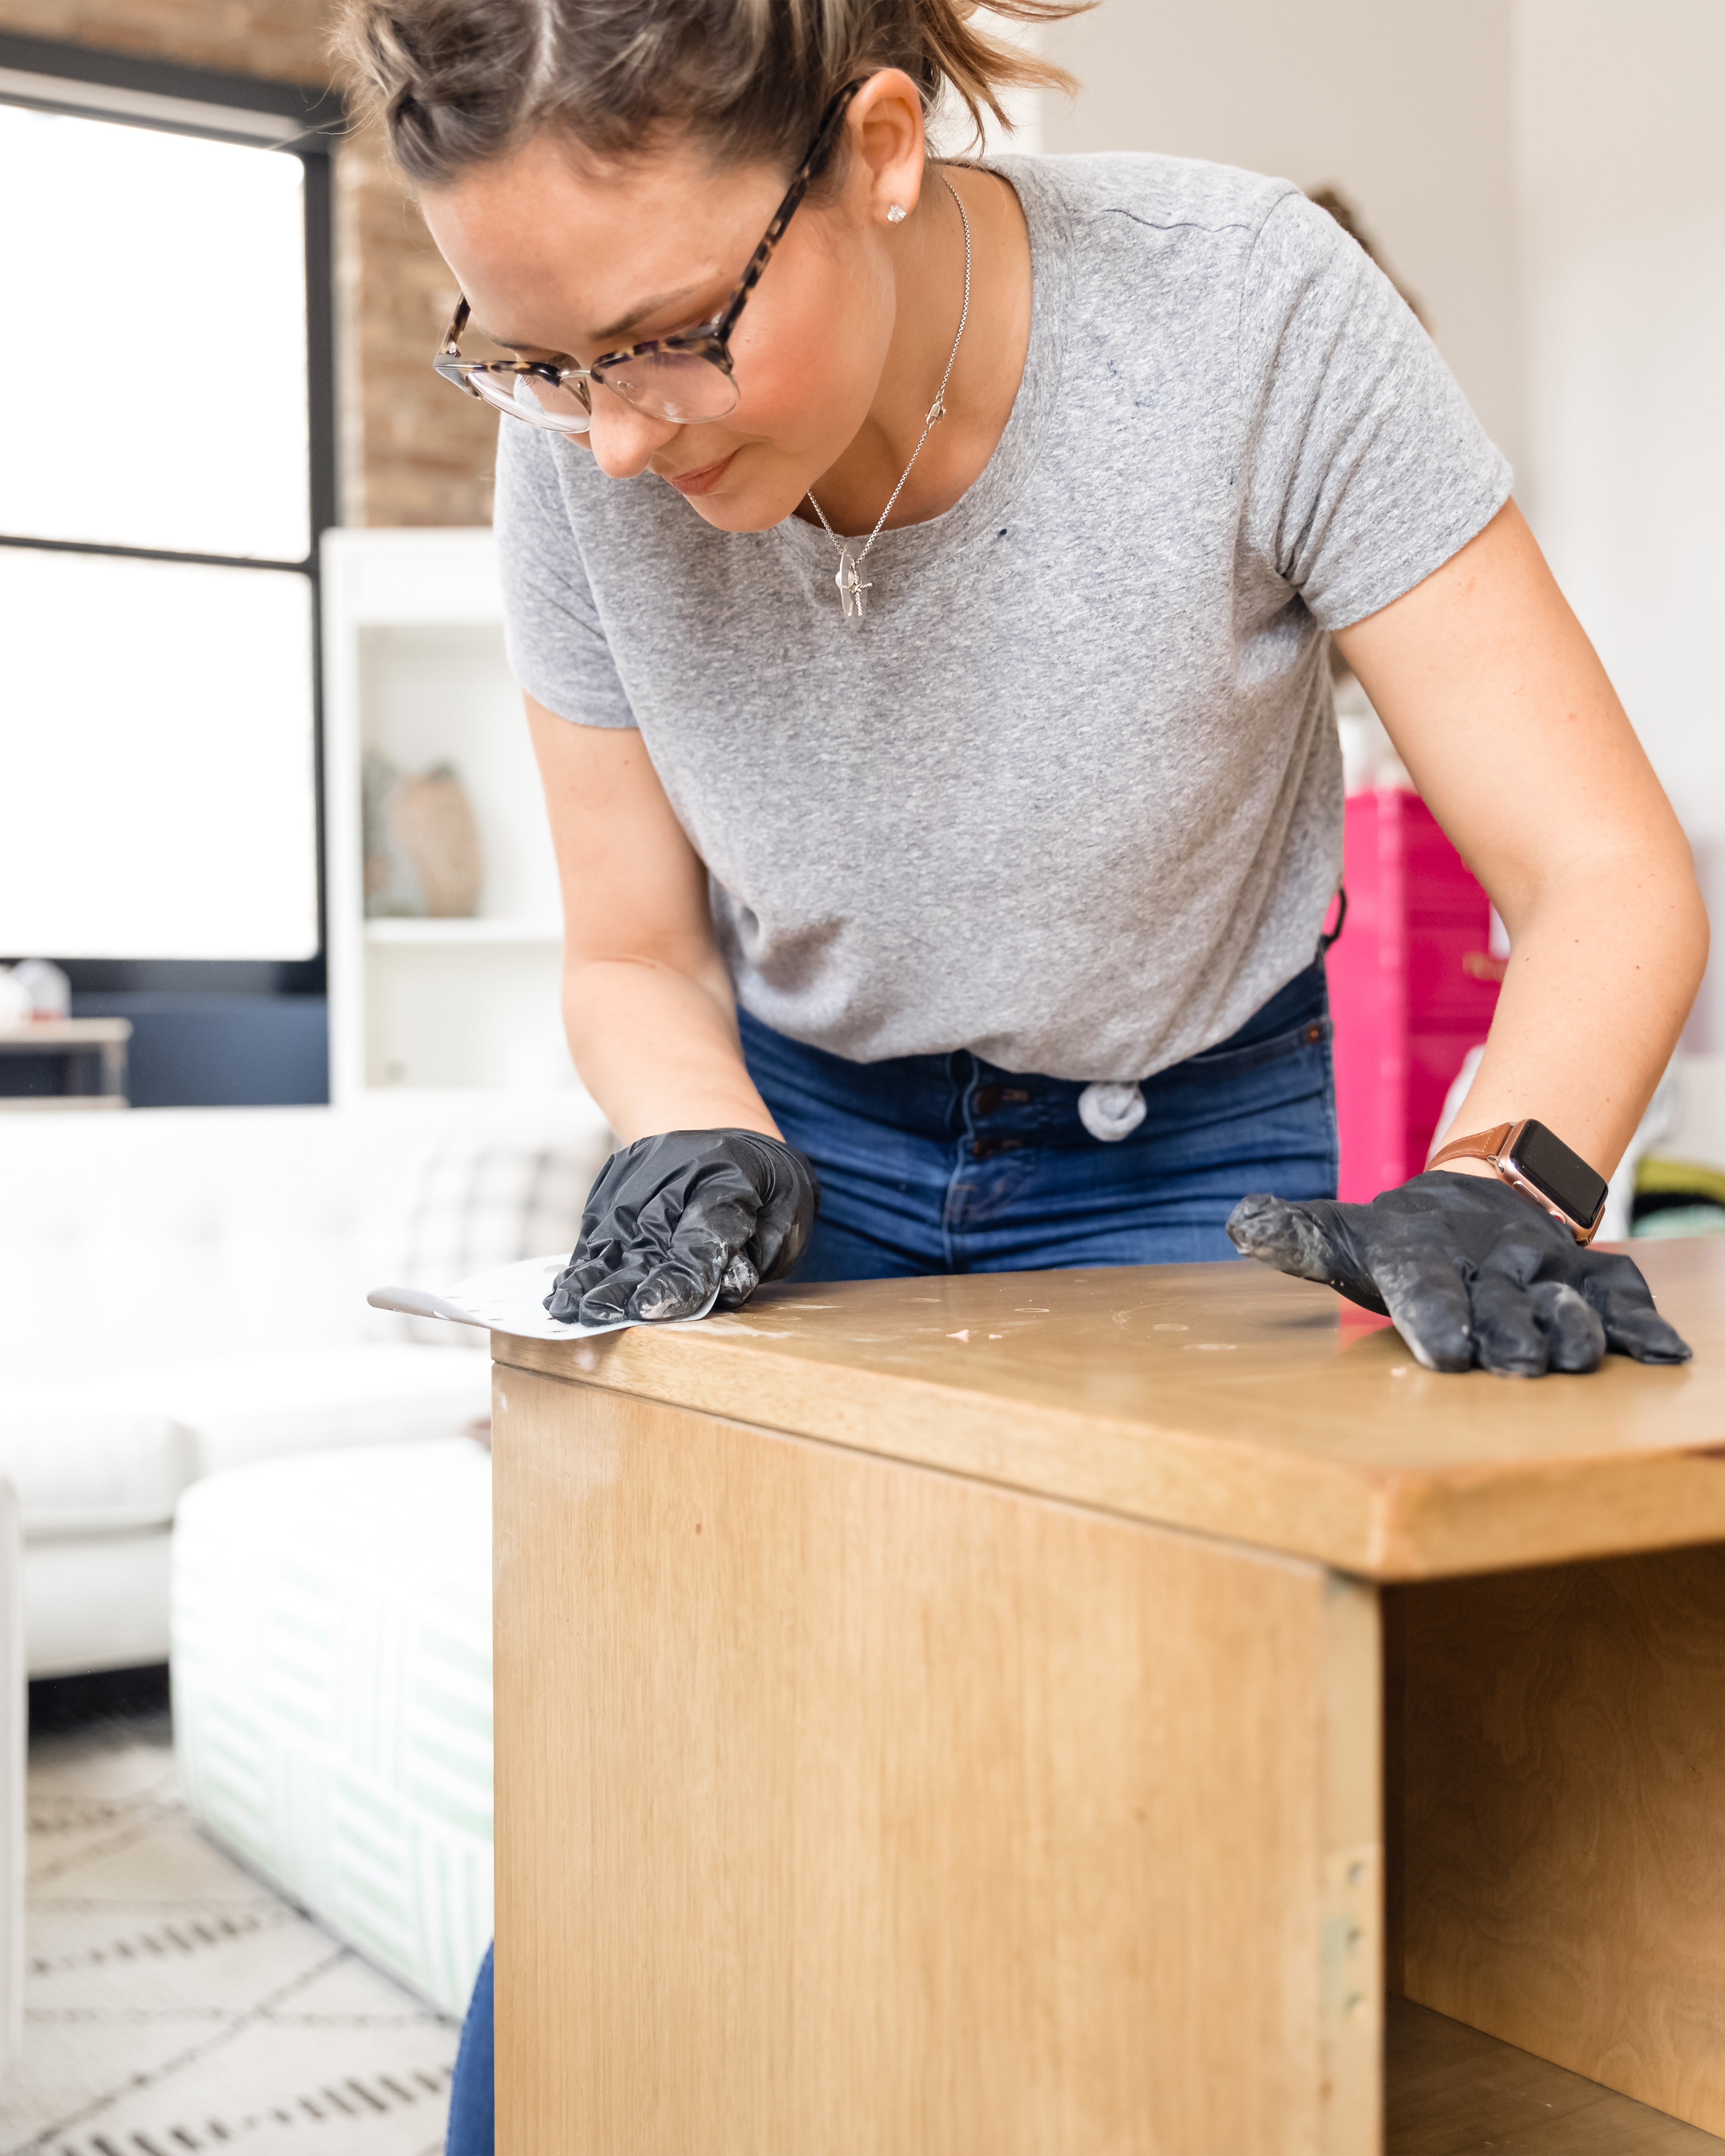
Step Five: Time To Sand

 If you're using paint that requires prep and priming, sanding down your dresser will be the next step. One of the key aspects to making the paint go on smooth and look like a professional finish if you're using other paints is to sand down the dresser to get the previous paint or finish off. It will help other paints adhere to the wood correctly, as most other paints are not able to adhere to a wax finish or paint as well.
As we beginning to sand down a dresser, we need to determine what type of surface we are sanding first. Depending on the surface that you are sanding you either start with the 80 grit sandpaper or the 120 grit sandpaper. If you're looking to go a little more professional, you can use a shop vac and the orbital sander.
Keep the sander level with the dresser and let it work its magic! I have found many times when I push too hard is when it goes right through the vanish through the veneer to the wood below - don't make that mistake! Make sure you constantly keep the sander moving from left to right. Keeping it in the same place may cause your sanding to go through the veneer. The veneer on a piece is what makes it more stable and less likely to warp - so we definitely want to keep that!
I hope this blog helped ease your minds on how to perfectly prep before restoring your furniture. As always, I would love to see how your DIYed pieces turned out!! Tag us on Instagram and Facebook @Megmade and use the hashtag #findthegold to show us how you found gold in your previous vintage piece! Comment down below if you have any questions about prepping for a restore, I would be happy to answer as many as I can.
Leave a comment