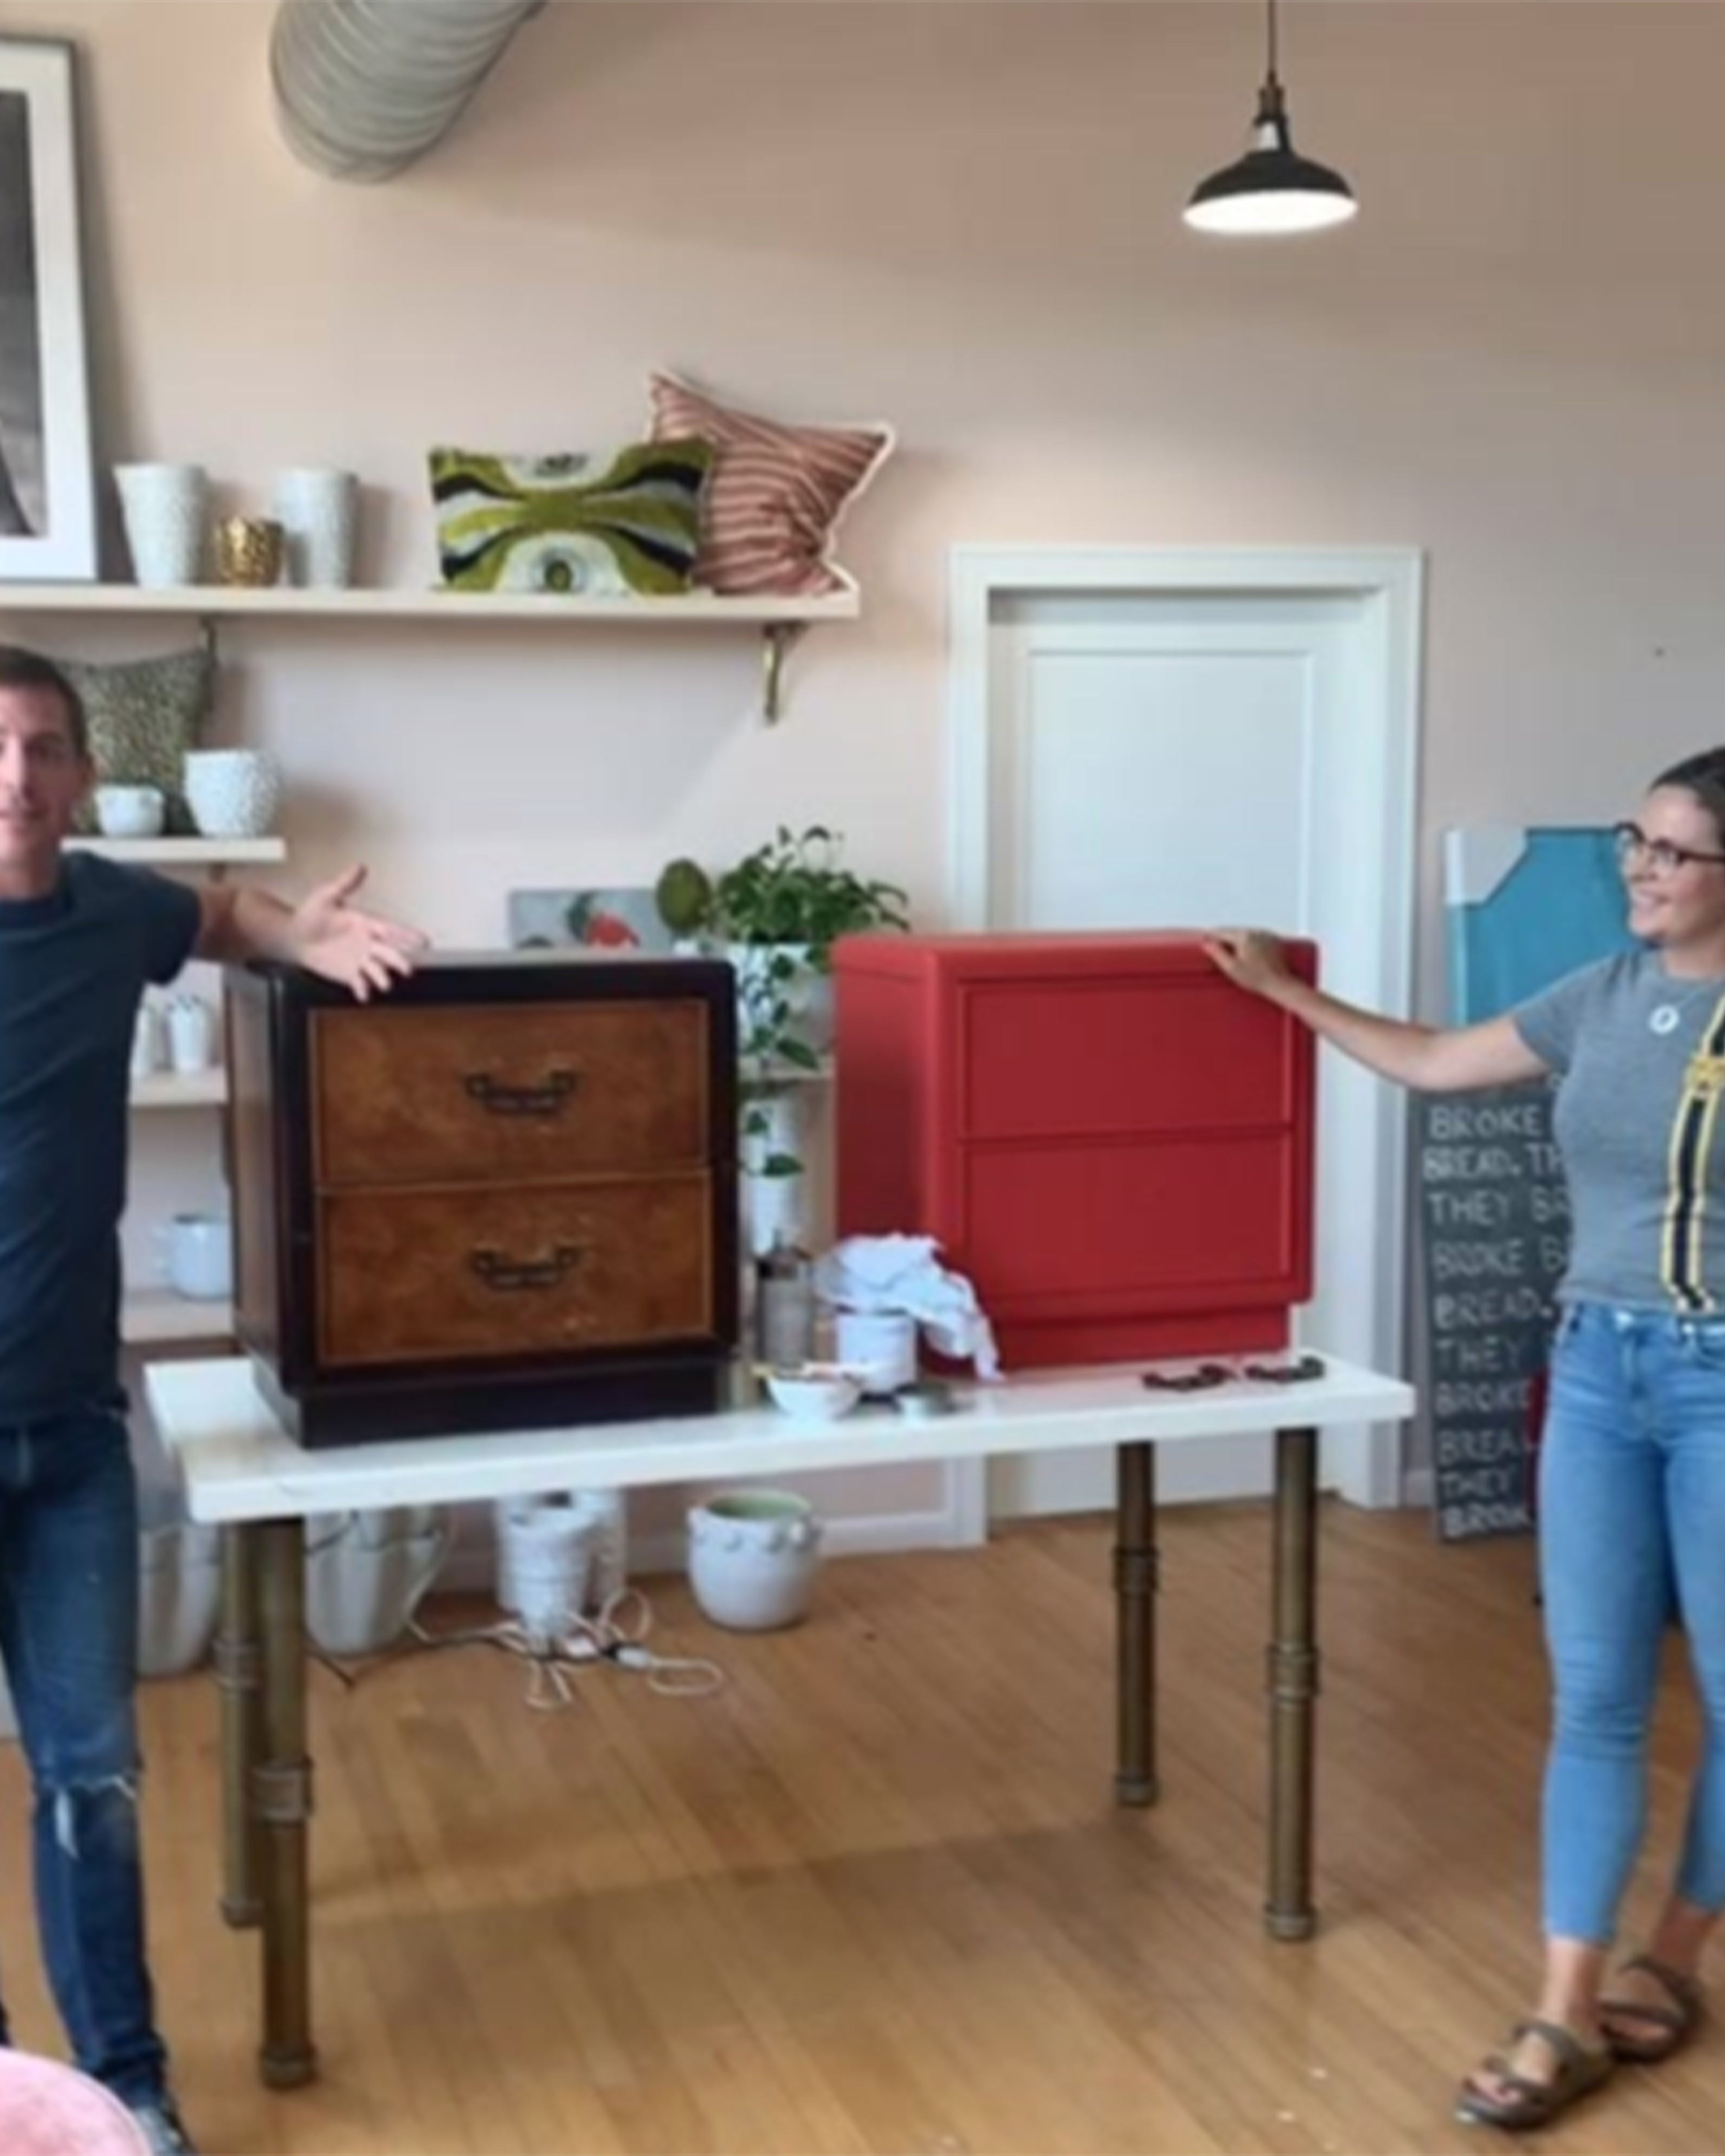
Hey y'all, today we're showing you one of the first of many HOW TO PAINT A DRESSER tutorials! For lack of time, we are showing you a before and after from the start, but we're going to show you how to get from before to after seamlessly! Plus, we're going to answer all your questions down below! Also, tune in every week to our Instagram live for another LIVE Tutorial!
Video down below!
FIRST - TAKE OFF THE HARDWARE
Make sure the piece has all hardware taken off so you can get every knick and cranny, plus, keep your hardware in a good, clean condition.
SECOND - WIPE THE PIECE DOWN WITH A CLEANER - WE SUGGEST USING CLEAN SLATE (WE SELL IT AT OUR STORE)
One of the most important steps is the prep, because a clean dresser means a lasting paint dresser! If you don't prep it correctly with a good cleaner, one day when you are windexing the piece, you're going to not only remove the grime but the paint as well!
THIRD - REMOVE THE DRAWERS
So we can get every inch painted!
FOURTH - GET YOUR PAINT READY, AND ADD SOME WATER!
I'm a big fan of thinner but many coats. So I always add some water to the paint until I get the consistency that I want.
FIFTH- START PAINTING WITH YOUR BRUSH & FIRST LAYER!
Remember, the cheaper the brush the better. Get a 2 dollar horse hairbrush, and you are good to go! But yes, the brush may shed, but try to get that off as you go. And don't worry, the first layer is going to not look so good, but once you add more coats- it will look amazing. Also, remember to act quickly!!
SIXTH- KEEP ADDING LAYERS!
Keep adding layers until you are satisfied. Between each layer, if you want a clean finish like the after in this video, lightly sanding between each coat will help reduce brush strokes. I use a sanding block that's 400. It will take about 15 minutes between each coat for it to completely dry and then to sand.
SEVENTH- ADD BEESWAX OR POLY!
We use Mind Your Own BeesWax. It's easier to spread because it's a soft wax. You can use an old t-shirt, and you can either add it to your rag or directly on the piece, it will change the color slightly. When we chose our paint colors, we made it one shade lighter so that you can make the color personal to what you want, depending on what waxes and so forth you add to the piece. Beeswax is the alternative to poly!
EIGHT- THEN ADD YOUR ANTIQUE WAX!
After the Beeswax we added the antique vintage wax. You can kind of put it on a little sloppy because you will work its way through with multiple brush strokes and layering.
NINTH- PUT THE DRAWERS BACK!
Once the pieces are dry, put your drawers back in!
TENTH- ADD YOUR HARDWARE!
If you want to play with the hardware and change the color or anything, do that before you place the hardware back on. And make sure it's dry before you add it!
WHAT IS THE BEST PREP?
Since these pieces are vintage - you need a really great cleaner! Clean Slate takes off all the grease and grime before you refinish it. Make sure there is no oil or wax in the cleaner!
DO YOU HAVE TO SAND BEFORE?
You don't have to sand at all with our MEGMADE paint line! Some pieces have some unique attributes, and if you want to fill in a divet or something like that, you can go in with some wood filler or Bondo - and then sand that smooth! Or, if you want to embrace the vintage charm, go ahead and paint right over! Don't be afraid of surface-level marks or scratches - if the piece has good bones, you don't have to worry about the wood underneath!
DO YOU HAVE TO USE PRIMER?
Nope! You do not need to use primer, you can use the one-of-a-kind MEGMADE paint! But if you use any other paint or a lacquer, you will need a primer.
WHAT IF YOU WANT A GLOSSY LOOK?
Since we're doing wax today, if you want a glossy look definitely use a glossy spray. We use Bright Idea.
WHAT KIND OF BRUSHES?
Cheap ones! Yes, do not spend your money on a brush. If you are using MEGMADE paint, then this paint dries insanely fast, and you will end up ruin your brush. We're using a 2 dollar horse hairbrush in this tutorial! You can also use a roller.
WHAT LOOK DOES THE PAINT GIVE?
Any look you want! You can go farmhouse, glossy, vintage - whatever you want! You can use glazes and so forth to change your look.
WHAT BRUSH TECHNIQUE DO YOU USE?
Painting in one direction is always best. Always pull the paint at the end.
WHAT DID YOU USE TO WAX IT?
We use Mind Your Own BeesWax.


Leave a comment