Today we're so excited to finally show you just what our paint can do to an old, vintage piece! We've been really wanting to do a half finished/half unfinished piece for the store to show its potential, so I figured I would walk you through the steps while we're at it! Here are some things you'll need to get started:
What You'll Need:
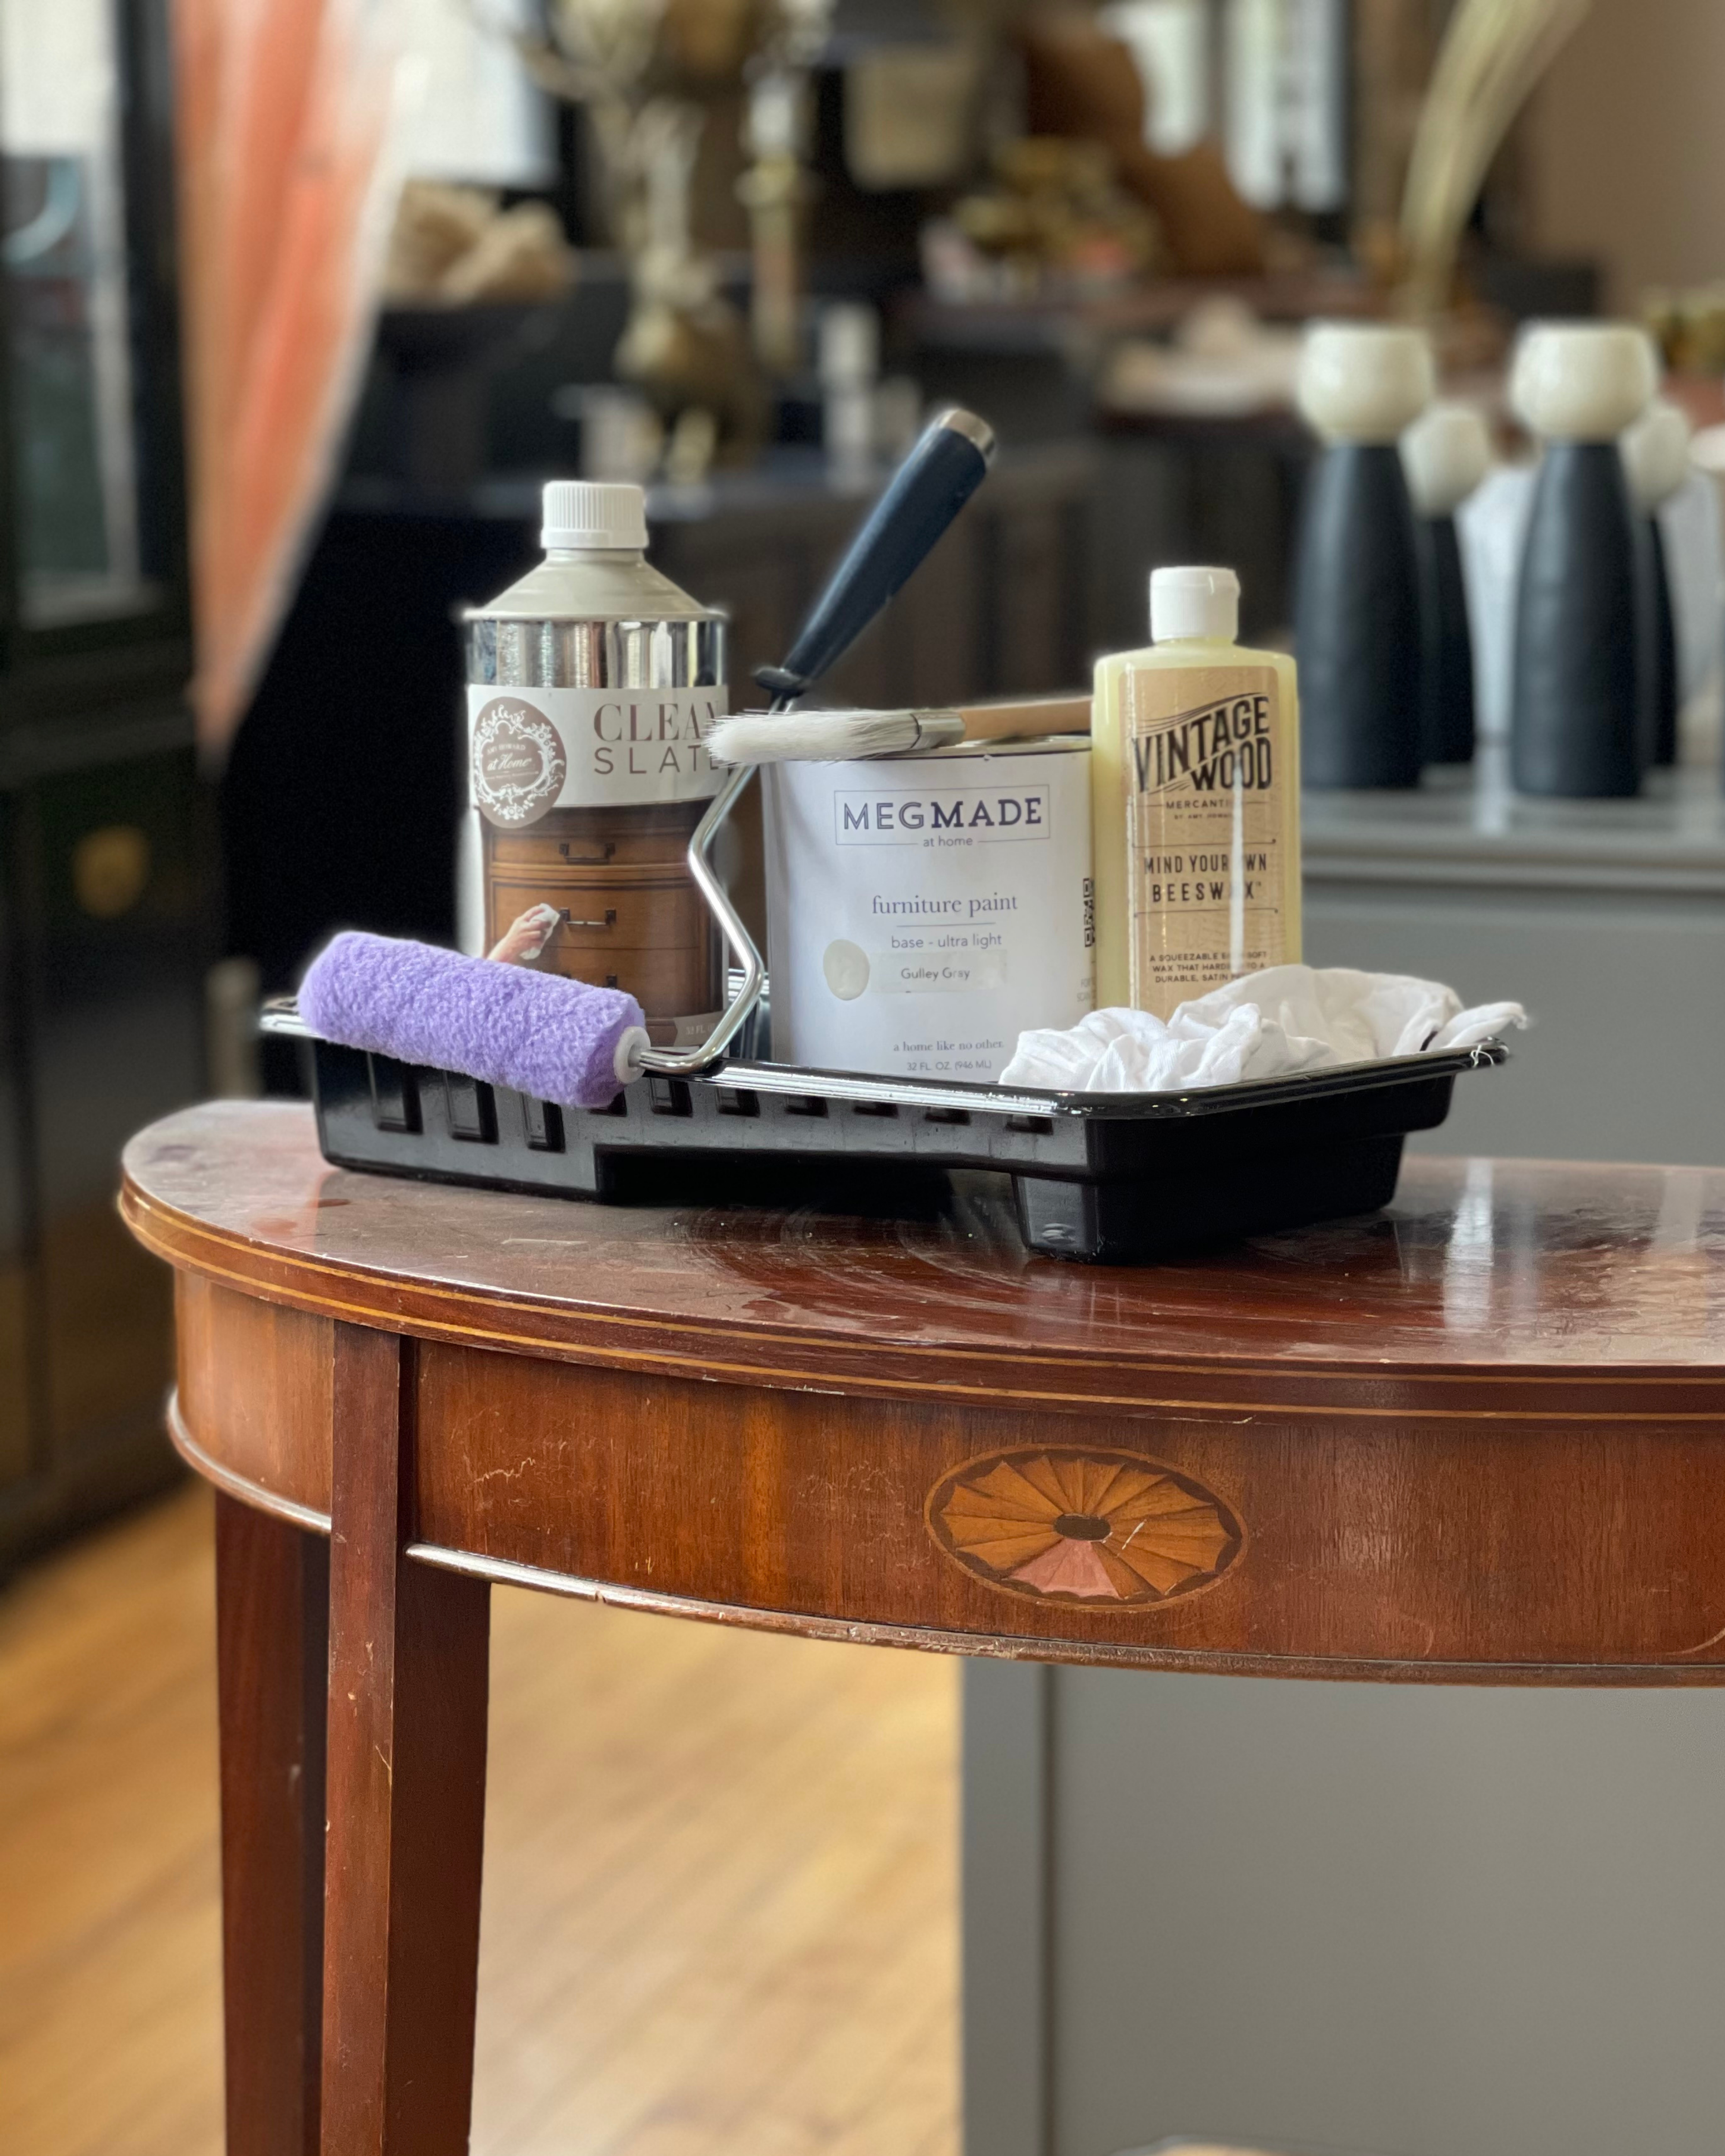
-A piece you want to paint
- Clean Slate or any wood cleaner without a wax derivative. Click HERE to shop the wood cleaner that we would recommend!
- A can of our MegMade Furniture Paint. Click HERE to browse some color options!
- A jar of our antiquing wax. Click HERE to shop the one I use in the video.
- A paint roller with a 3/8 inch nap for painting
- A paint brush for the waxing
- Mind Your Own Beeswax to seal in the paint and wax. Click HERE to shop!
- A clean rag to buff out your finish
Step One: Find The Perfect Unfinished Piece
This seems obvious, but find the perfect piece that you want to revive. It's so satisfying to see an otherwise unusable piece of furniture that's all scratched up come back to life with a few coats of paint and detailing. Don't have a piece in mind? Did you know that we also sell our vintage pieces as-is? If you want to do the revamp yourself, check out some furniture options HERE and email us at hello@megmade.com for an as-is quote!
Step Two: Clean Your Piece
You'll want to make sure to clean all the grease and grime off the piece in order to make sure the paint sticks to the original wood. We used Amy Howard's furniture cleaner, Clean Slate (click HERE to shop). If you're not able to get your hands on some Clean Slate, we recommend using any surface cleaner that doesn't contain a wax derivative. The important part is that any dust or grime is off or your paint will chip!
Step Three: Get Ready To Paint!
The beauty of our DIY Furniture is that it's already time to get to painting. Personally, I don't like to be able to see streaks in my strokes when I paint, so I add about 10 percent water to it before I start. Mix that in to give it a bit of a smoother consistency! When you're adding the first coat, remember to not overdo it or try to add more on top to make it look perfect the first go-around. This paint dries so fast, so if you try to add more on top you'll end up just pulling the top layer of the paint. I usually do 2-3 coats to make sure I get the color I prefer!
Step Four: Add Your Finish
You'll want to add something to the top to seal the stain in and any water, grease, and/or grime out. I applied a matte finish from Amy Howard's paint line called Mind Your Own Beeswax. Click HERE to shop! I applied with a clean rag and feathered the wax out throughout the piece. You definitely want to apply enough to cover the entire area of the piece, but doing a thin layer is fine!
Step Five: Add Your Antiquing Wax
If you want to go the extra mile and give your piece an antiqued look, it's time to add on your wax. When I'm adding wax to a piece, I always think about what areas would have been touched on a piece the most. For the piece I did in the video particularly, I would guess the sides would have gotten the most traffic. Those areas are where I add more wax than others. I use the edge of my brush to really chip into the edges to make it look as natural as possible. On the parts that wouldn't have seen as much traffic, I take the brush with a light hand and go over the rest. Have fun with it! The nice thing about waxing is that it doesn't have to be perfect to look complete.
I hope this helped inspired you to do your next DIY project! I would love to see how your finished piece turned out! Tag us on Instagram and Facebook @MegMade and use our hashtag #findthegold to show us how you found the gold in an old vintage piece that you made look brand new. Of course, if DIYing is not your style but you love the look or idea of taking an old piece and making it brand new, we have a ton in stock that we can do for you. Check out our unfinished inventory HERE.
Like this blog? Check out our other blogs like our DIY STAINING TUTORIAL. Click HERE to read!
Leave a comment