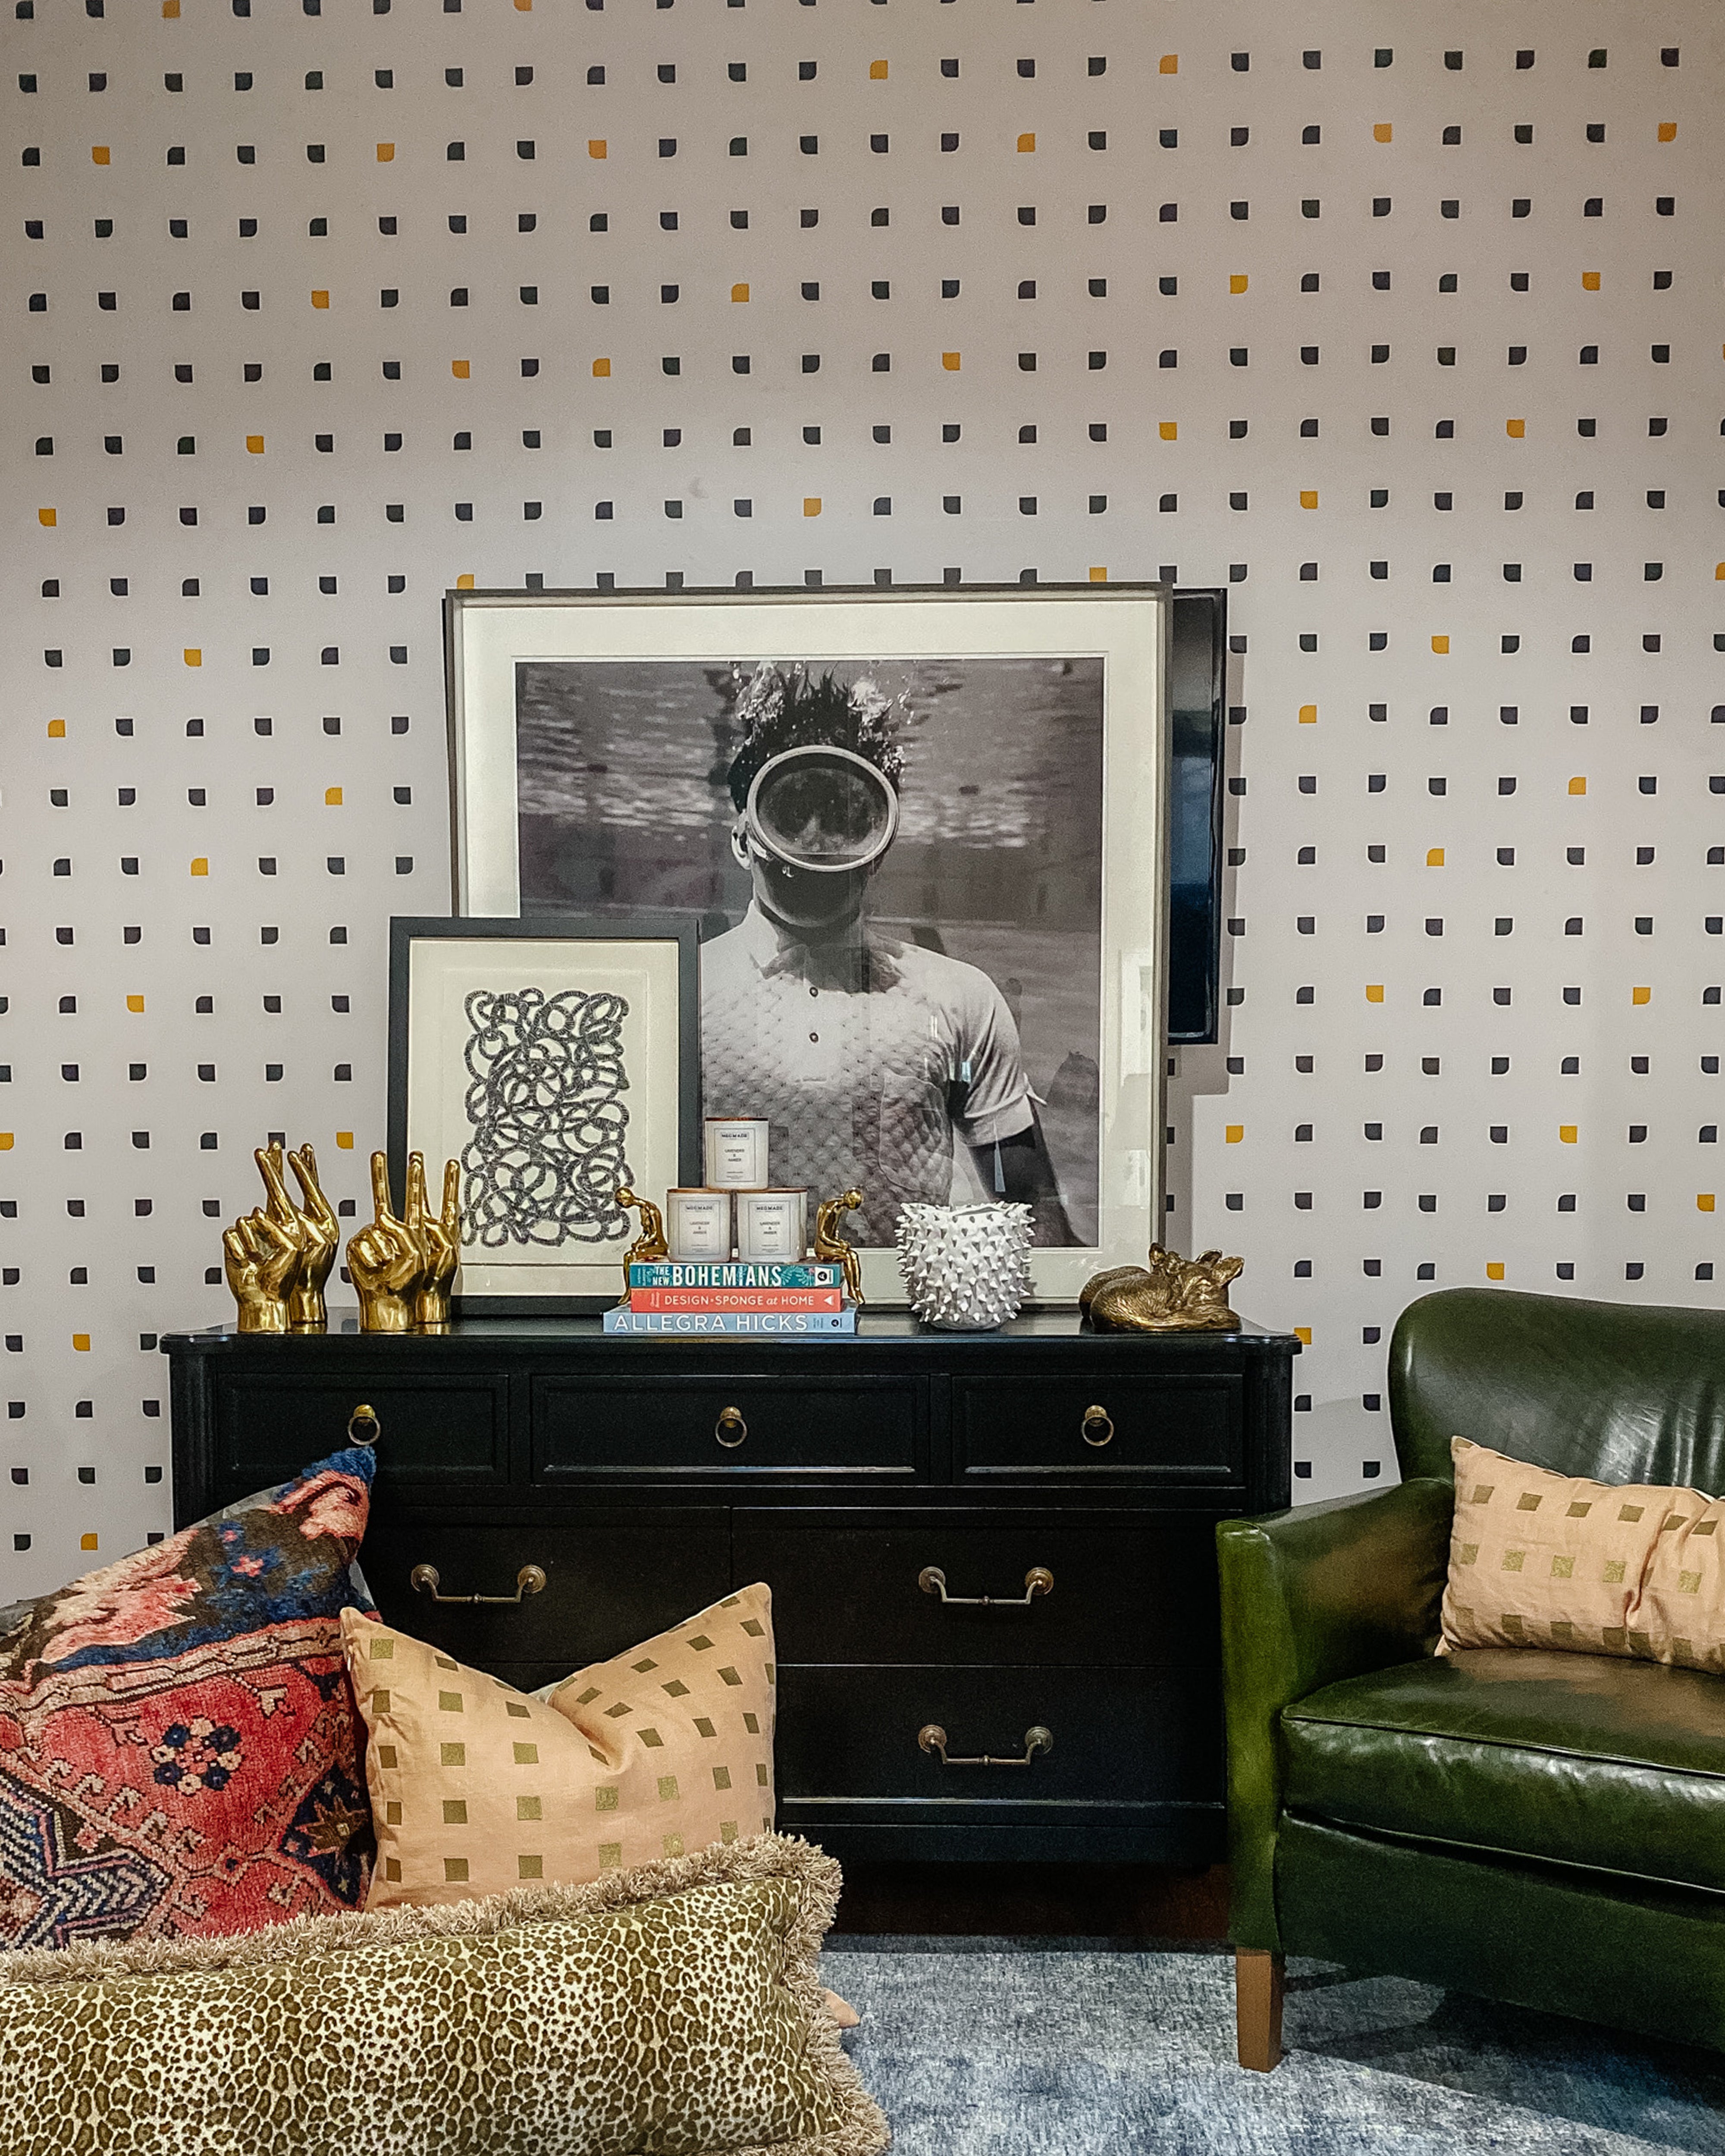

If you've been following along on our journey, you know I can't go a day without talking about how much I love wallpaper. I would add it to every room if I could. MegMade recently came out with our own wallpaper line - such a dream come true! We've been getting so many questions on how to install wallpaper, especially the peel and stick option we offer. You got to see a sneak peak on our Instagram yesterday, but hopefully this post will help answer any questions y'all have! Hanging wallpaper is a project that seems much more daunting than it really is. Our MegMade line of wallpaper comes in three different options: Peel and Stick, Unpasted Paper, and Vinyl Grasscloth. Because we change out the store so frequently, we decided to go with our peel and stick Take the Edge Off wallpaper. If you're a beginner, a renter, or planning to change out your space frequently - peel and stick is the one for you!! Wallpapering takes practice - and the nice thing about peel and stick is that it's so easy to fix and super easy to remove!
Once you find a wallpaper you love, it's time to get to work! Here are the steps I take to make wallpapering a breeze:
Tools You'll Need:
-Measuring Tape
-Plastic Smoother
-Level
-Blade
-Pencil
Ordering Your Wallpaper
Before you do anything, you'll need to order the right amount of wallpaper for your wall! Measure out the height and width of your wall first and then calculate how much paper you'll need depending on how much comes in a roll for the wallpaper you choose. We're always happy to help you figure that out as well if you end up going with a wallpaper from the store! I always like to get extra just incase - you can always return a roll if you don't end up using it!
Prep Your Wall
Prepping the wall before hanging your wallpaper is crucial for making sure the it will have a good surface to adhere to. Ideally, a clean, level surface works best. This may mean filling any holes, chips, or cracks in the wall, sanding down any areas where the paint has flaked up, and washing any grease or grime off the wall. If you're wanting to apply wallpaper to brand new drywall, I would recommend priming to make sure the wallpaper will be strippable if you ever decide to switch up your style and remove the paper! If there is anything on your wall that can not be removed easily, you'll just have to go around it! In our case, we had to go around our T.V. mount, vent, and fire sprinkler system.
How To Hang:

Step 1.
Start by measuring the wallpaper according to the height of your wall. From there, cut the paper to make one long strip that will go all the way down to your trim. Give yourself a little wiggle room - you can always cut the bottom with your blade! In this step, feel free to cut the length of the wall for as many pieces as you'll need, or you can do it as you go. In some cases, you can buy wallpaper precut, but it's super easy as long as you have a measuring tape and a blade.

Step 2.
Before you attach the peel and stick paper, give yourself a guide line by taking a level and drawing a plum line to help you stay level while you're adhering the first strip to the wall - this ensures that the first piece is completely straight.
Draw a plumb line by measuring the width of the paper and create a vertical line that will show you where the width of the wallpaper should end. This is the best way to ensure your wallpaper goes completely straight from top to bottom.

Step 3.
From there, line up your paper to the top and make sure the edges match up with the plumb line that you drew for the peel and stick to go on even. This step is tricky, especially if you have uneven walls. So many homes, especially older homes, have walls that aren't completely straight. There's still a way to cover them completely! If your wall seems to go wider towards the bottom, calculate where your width should land you from that space. You can always trim where some off the side, but you can never add. Do the best you can! The amazing thing about peel and stick is that you don't necessarily have to get it on the first go! If you don't feel like you got it right the first time, you can peel it off and try again.
Step 4.
Once you feel like your strip of wallpaper is how you want it, smooth out the air-bubbles using your plastic smoother. If there are any you can't get out, lift up the paper and relay it - that's the beauty of peel and stick! Make sure you're using the plastic smoother both horizontally and vertically. As you smooth out the air pockets, slowly remove adhesive paper as you go!
Step 5.
It's important to make sure the second paper, and each after that, line up with the paper you've previously put down. When you have a more detailed pattern it's actually easier to match the strips up perfectly. For a wallpaper like Take The Edge Off, using your level to make sure your squares are level is the best way to go. If making the strips even means having to blade some off the top, that's totally fine! The most important thing here is that your designs are even.

Step 6.
When you get to the point on a wall where there's something you can't remove, don't worry - YOU GOT THIS! This is where the blade becomes so essential. It can help you make your cuts precise, which makes the overall look so much better. Don't stress, places like behind a T.V. or other more difficult cuts will not make or break how your wall will come out. In this case, I made my cut from the side of the paper into the middle of the strip and cut as best I could where I thought the mount would be. Start by cutting out less. You can always trim more, but once it's cut you can't get it back! The same thing goes for the sprinkler system. Start your cut from the edge of the paper closest to where the cutout will need to be made.
Step 7.
After that, fix any minor bubbles or patches by using your plastic smoother, and you're good to go! A new and improved space with only an hour or two's work. With DIY projects, give yourself grace to make mistakes and get better as you go.
We're SO excited to see how your finished product turned out! Hopefully this answered some of your questions and put your concerns at ease! Feel free to message us any questions and share your wallpaper pictures on our Instagram and Facebook @MegMade. Cheers!
Leave a comment