We talk a lot on here about our paint colors, our pieces that we bring back to life, everything-home-decor, but we want to also share with you some ways that you can use our paint on your own! Here at MegMade, we're all inclusive home - and that means, doing some DIY's on your own too! So today, in part of our mini-series, we're going to show you how to paint your furniture!
Before you read on, check out our first two blogs of this series : Undressing the Dresser AND Perfectly Prepping - Prepping Furniture Before We Paint !
PREPARING THE PAINT

Next we go into the paint mixing station and find the designated color to paint the dresser. We need to turn the can upside down and shake it, so it is thoroughly mixed. We have to shake it thoroughly because the natural elements that make up the paint settle at the bottom.
When using our paint, since it's a bit thicker, you may need to add between 4-6 oz. of water, for your desired consistency. You can use a blender for this part! You have to be the judge of this to determine if the consistency is right. The best way to do this is guess and check. If while you are spraying it seems like an its super runny there is a good chance you added too much water and if it is struggling coming out then you need to add more water.
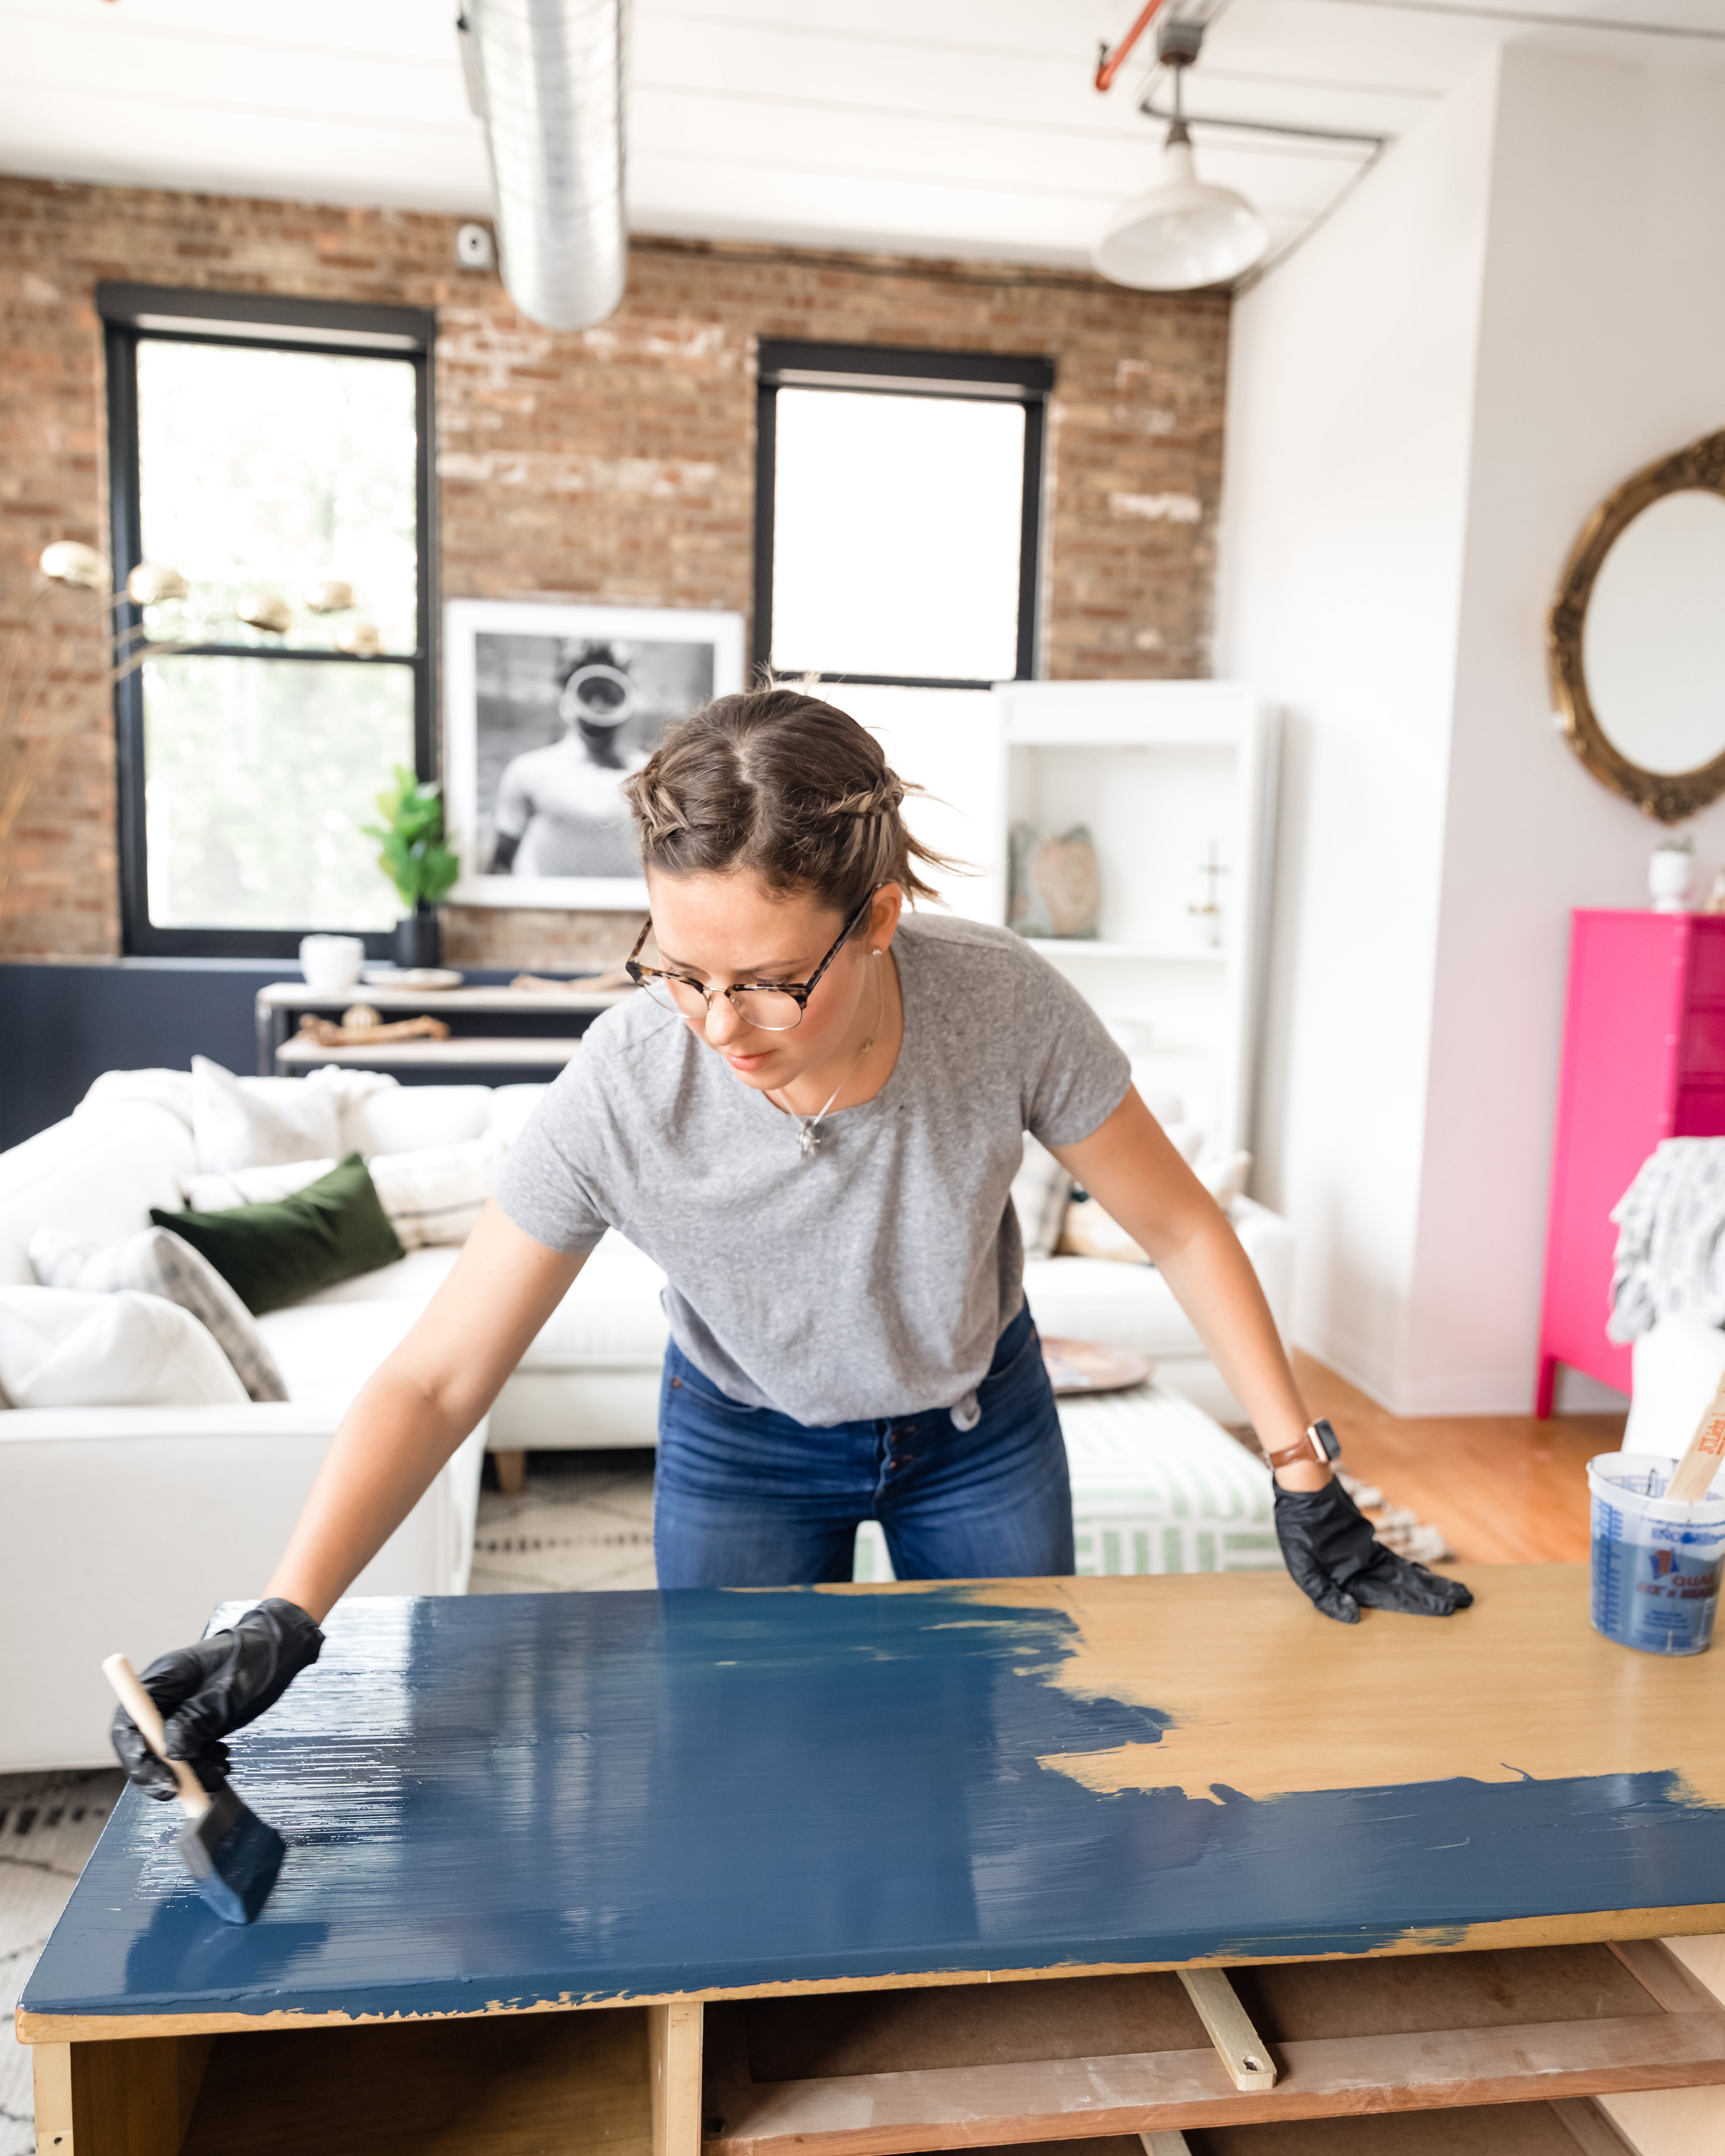
PAINTING THE PIECE
We take great pride in how we paint our pieces and we carefully choose what color a piece should be based on the style and genre of the piece. It is of the utmost importance that when we make a determination on the color of the piece that we paint it the color we suggest.
As you paint you need to understand you are going to paint two to three coats. One of the faults many people make when they are first painting is that they have to completely cover the piece on the first go around. This is not the case. The goal is to get a good base coat.
If you are going to paint the entire piece top and base you should start with the top. It’s best if you start from one of the sides and go perpendicular to the from and go from the left to the right side of the dresser or the right to the left side of the dresser. As you paint each stroke partially go over where you just painted. This ensures you get consistent coverage.

After you finish painting the top I suggest you start on the sides next. Go from the top to the bottom. You can go left to right as you go down or you can go top of bottom. The goal is that as you do it you get full coverage and get streaks.
After you do one side you should then do the front. When you do the front paint the detailed areas first and then go from left or right or right to left. You can go the length of the piece or you can choose to segment it off and finish an area from top to bottom and go to the next area. After you are done painting the first coat, it should probably take 30 min to 1 hour to dry.
FINISHING COAT
After you have done the first coat and it has fully dried you can now paint the final coat. Understand that the paint might have settled in the can so you should shake it thoroughly.
Paint the second coat the exact same way as you did the first coat. Check for any spots you missed and get them. Also check to make sure you have painted any legs back and front. Make sure that on the last coat that you can’t see any streaks. We want to give a complete consistent coverage. When your piece is completely dry, finish it off with a wax!

PAINT THE LIPS OF THE DRAWERS AND DOORS
One of the keys to ensure we offer a finished product we need to paint the lips of the drawers. We do this because occasionally there are gaps between each drawer and so if we paint the lips of the drawer and door the customer will not see wood they will see the same color the dresser is painted.
Another area often missed is the inside sides of the dresser. This is the area that can be seen when the drawers are pushed in. We need to paint this area so when the drawers are pushed in it isn’t the wood.

Leave a comment